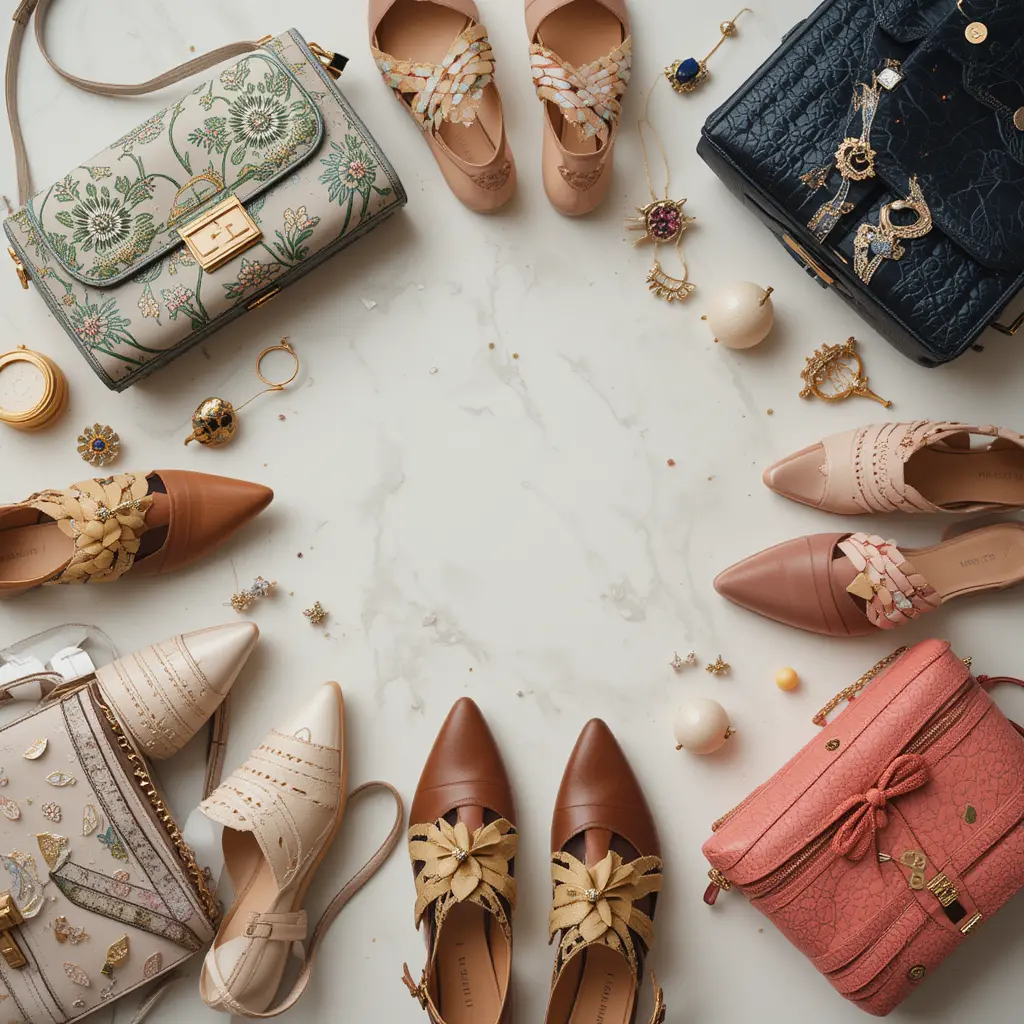
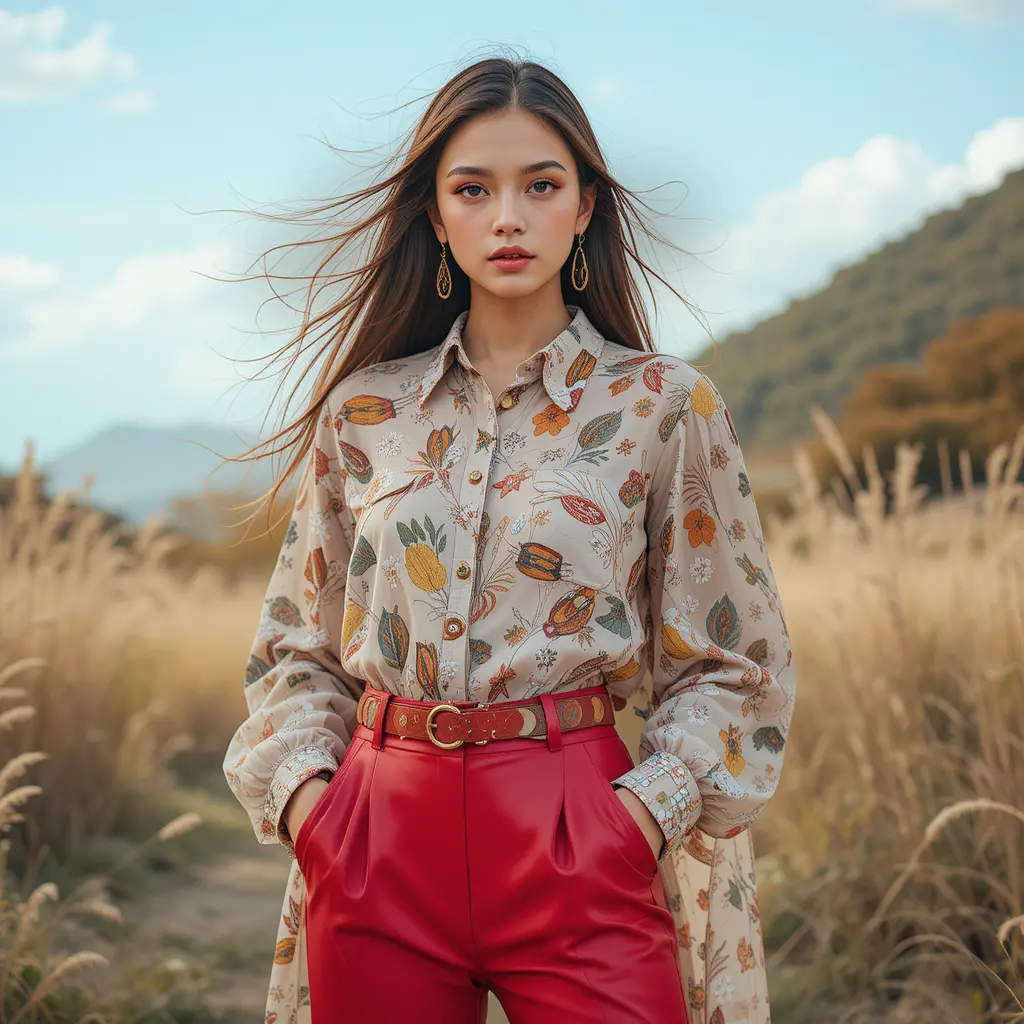
Capture the essence of your products with stunning photography that captivates and converts. In this article, we will explore essential tips to elevate your product photography skills. Whether you’re a beginner or looking to refine your technique, these insights will help you present your products in the best light. Discover how to make your images stand out and engage your audience effectively.
Understanding the Basics of Product Photography
Understanding the basics of product photography is like learning to ride a bike. At first, it might seem daunting, but with practice, it becomes second nature. As a product photographer, I often find that the magic lies in the details. Capturing the essence of a product requires more than just a camera; it demands an eye for detail and a passion for storytelling.
Lighting: The Heart of Product Photography
Lighting is the heartbeat of any photograph. Imagine trying to read a book in a dimly lit room; the words blur, and the story loses its impact. Similarly, in product photography, good lighting brings out the product’s features, making it appealing and vibrant. I remember my early days when I struggled with shadows. A simple adjustment of a lamp transformed a dull image into a captivating one. Natural light is often the best choice, but don’t shy away from experimenting with artificial sources.
Composition: Telling a Story
Composition is like setting the stage for a play. Every element in the frame should have a purpose. When I photograph a product, I think about the story I want to tell. Is it a luxurious watch? Then perhaps a background of elegance and sophistication is needed. I once photographed a handmade soap, and placing it on a rustic wooden table with a few lavender sprigs told a story of natural beauty. Remember, the goal is to make the viewer feel something.
In conclusion, mastering the basics of product photography is essential for showcasing your products like a pro. With the right lighting and composition, you can create images that not only capture attention but also convey the essence of the product. These product photography tips are your first step towards creating stunning visuals that tell a story.
Choosing the Right Equipment for Product Photography
Choosing the right equipment for product photography can feel like picking the perfect ingredients for a recipe. You want to ensure each piece complements the other, creating a harmonious final image. As a product photographer, I’ve learned that the right tools can make or break a shoot. Let’s dive into the essentials.
Camera and Lenses
Your camera is the heart of your setup. While many believe you need the latest model, a mid-range DSLR or mirrorless camera often suffices. The key is understanding your camera’s capabilities. Pair it with a versatile lens, like a 50mm or a macro lens, to capture detailed shots. I once used a simple 50mm lens for a jewelry shoot, and the results were stunning. The clarity and focus were just what I needed to showcase the intricate designs.
Lighting and Accessories
Lighting is crucial in product photography. Natural light is great, but it’s not always reliable. Investing in softbox lights or ring lights can provide consistent illumination. I remember a shoot where the weather turned cloudy, and my softbox saved the day. It’s also wise to have reflectors and diffusers on hand to control shadows and highlights. These tools help you create the perfect ambiance, making your products shine.
In the world of Product Photography Tips: How to Showcase Your Products Like a Pro, the right equipment is your best ally. It’s not just about having the most expensive gear but knowing how to use what you have effectively. With the right camera, lens, and lighting, you can elevate your product images to a professional level.
Setting Up Your Product Photography Studio
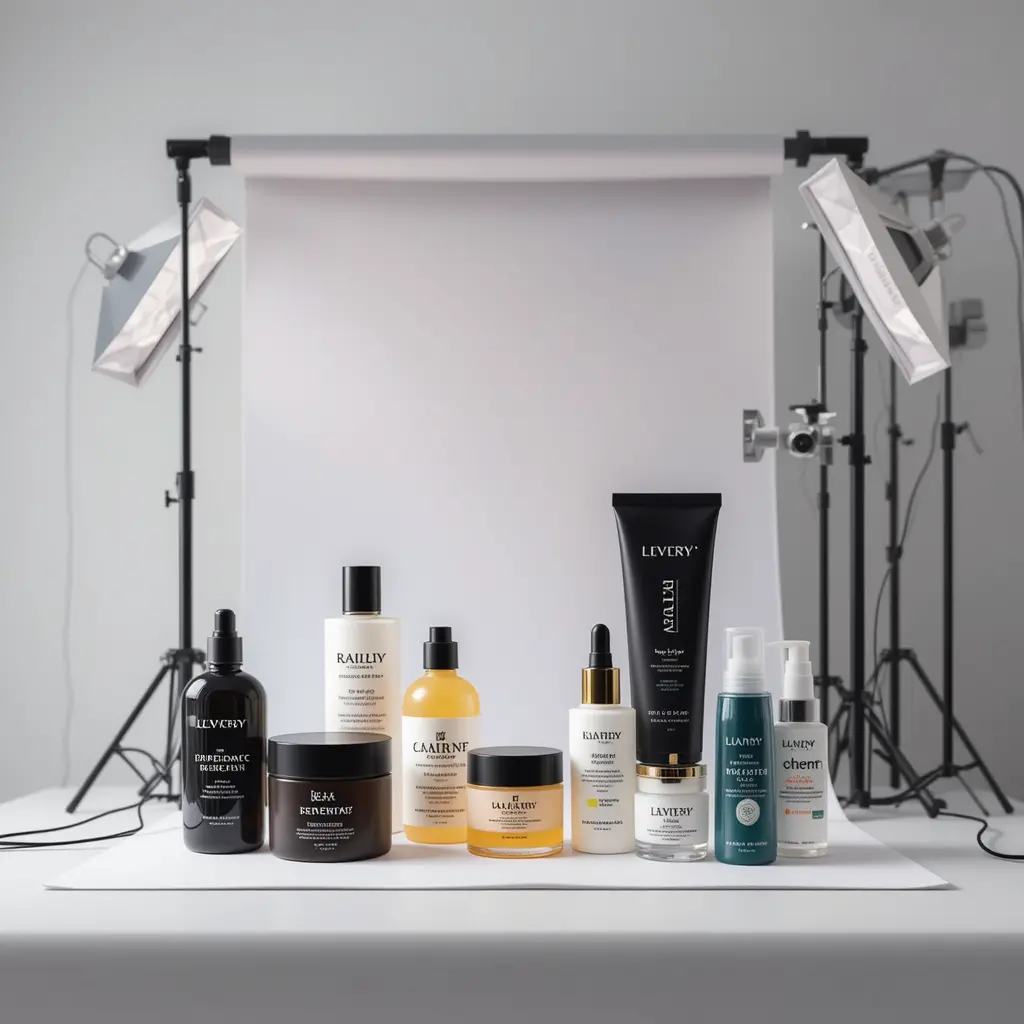
Creating a dedicated space for your product photography can make a world of difference. A well-organized studio not only enhances your workflow but also elevates the quality of your images. As a product photographer, I’ve learned that the right setup is crucial for capturing those perfect shots. Let’s dive into some essential tips for setting up your product photography studio.
Choosing the Right Space
When selecting a space for your studio, consider the lighting and size. Natural light is your best friend, so a room with large windows is ideal. However, if that’s not an option, invest in good quality artificial lighting. I once transformed a small corner of my living room into a studio, and it worked wonders. The key is to make the most of what you have.
Essential Equipment
Investing in the right equipment is vital. A sturdy tripod, a reliable camera, and a variety of lenses are must-haves. Don’t forget about backdrops and props, which can add depth and interest to your photos. I remember using a simple white sheet as a backdrop for a shoot, and it turned out beautifully. Sometimes, simplicity is the best approach.
Incorporating these Product Photography Tips: How to Showcase Your Products Like a Pro into your studio setup will undoubtedly enhance your photography skills. Remember, the goal is to create a space that inspires creativity and allows you to showcase your products in the best light possible. Happy shooting!
Lighting Techniques for Professional Product Photos
Lighting can make or break a product photo. As a product photographer, I’ve learned that the right lighting can transform an ordinary image into something extraordinary. It’s like painting with light, where every shadow and highlight plays a crucial role in telling the story of the product. Let’s dive into some lighting techniques that can help you showcase your products like a pro.
Natural Light vs. Artificial Light
Choosing between natural and artificial light is a common dilemma. Natural light is abundant and free, offering a soft and authentic look. I remember shooting a series of handmade jewelry pieces by a window on a sunny day. The sunlight brought out the intricate details and colors beautifully. However, natural light can be unpredictable. Clouds can change the mood of your photo in seconds.
On the other hand, artificial light gives you control. You can manipulate it to create consistent results. For instance, using a lightbox can help eliminate harsh shadows and highlight the product’s features. I often use a combination of softboxes and reflectors to achieve a balanced look. This setup allows me to shoot at any time of day, ensuring that my photos are always well-lit.
Experimenting with Angles and Shadows
Angles and shadows add depth and interest to product photos. Experimenting with different light positions can reveal unique aspects of the product. I once photographed a sleek, modern watch. By placing the light at a low angle, I created dramatic shadows that emphasized its design. This technique can be particularly effective for products with textures or patterns.
Remember, the goal is to make your product stand out. Whether you choose natural or artificial light, or a mix of both, the key is to experiment and find what works best for your specific product. With these Product Photography Tips: How to Showcase Your Products Like a Pro, you’ll be well on your way to capturing stunning images that truly represent your products.
Post-Processing: Enhancing Your Product Images
Post-processing is the secret sauce that can transform your product images from good to great. It’s like adding the final brushstrokes to a painting, bringing out the best in your work. As a product photographer, I often find that this stage is where the magic truly happens. With the right techniques, you can enhance colors, adjust lighting, and even remove unwanted elements, making your products shine.
Essential Tools and Techniques
When it comes to post-processing, having the right tools is crucial. Software like Adobe Photoshop and Lightroom are industry standards. They offer a range of features that allow you to tweak every detail. For instance, adjusting the contrast can make your product pop, while fine-tuning the white balance ensures colors are true to life. I remember a time when I was working on a shoot for a jewelry brand. The lighting was off, but with some post-processing magic, the diamonds sparkled like never before.
Personal Touches and Preferences
Everyone has their own style, and post-processing is where you can let your creativity flow. Some photographers prefer a clean, minimalistic look, while others might go for a more vibrant, saturated style. Personally, I love adding a touch of warmth to my images. It gives them a cozy, inviting feel. Remember, the goal is to enhance, not to alter the product’s true appearance. This is one of the key Product Photography Tips: How to Showcase Your Products Like a Pro. Trust your instincts and let your personal style shine through.
Conclusion
As we wrap up our journey through the world of product photography, it’s clear that capturing the essence of a product is both an art and a science. From lighting to composition, every detail matters. I remember my first shoot, where I struggled with shadows. It taught me the importance of patience and experimentation. These experiences shape us as photographers.
Embracing Creativity and Technique
In product photography, creativity and technique go hand in hand. Think of it like cooking; you need the right ingredients and a dash of flair. When I first started, I often felt overwhelmed by the technical aspects. But over time, I learned that understanding your tools can actually free your creativity. It’s like knowing the rules so you can break them effectively.
One of my favorite Product Photography Tips: How to Showcase Your Products Like a Pro is to always consider the story you want to tell. A simple background can highlight the product, while a more complex setting can add context. I once photographed a vintage watch on an old map, and it brought the piece to life. It’s these small choices that make a big difference.
Final Thoughts
Ultimately, product photography is about showcasing products in their best light, literally and figuratively. It’s about making the viewer feel something. Whether it’s the sleekness of a new gadget or the warmth of a handmade item, your photos should convey that emotion. Remember, every photo is a chance to connect with your audience. So, keep experimenting, keep learning, and most importantly, keep shooting. Your journey in product photography is just beginning, and the possibilities are endless.
